Configure DHCP Domain Name (for Security Firewalls in Nebula)
You can configure a DHCP domain name to map to a specific IP address on a specific interface. For this example, to add a domain name for the IP address 192.168.8.1 in the lan1 interface, do the following.
1 Go to Firewall > Configure > Interface. Click the Edit icon for the lan1 interface to open the Firewall > Configure > Interface > LAN interface configuration screen.

2 Click ADVANCED OPTIONS. Then click +Add new to open the Firewall > Configure > Interface > LAN interface configuration: DHCP option screen.

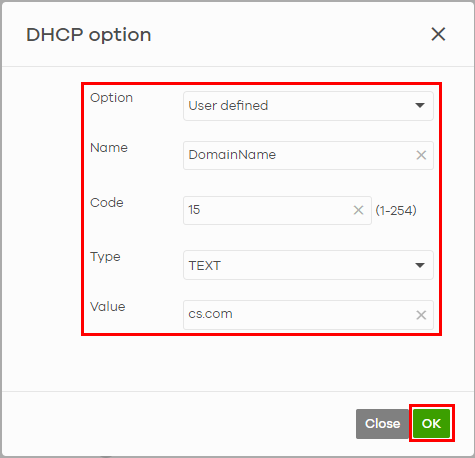
3 Select User defined as the DHCP Option that you want to add in the DHCP packets sent through the LAN interface. Select TEXT for the Type, enter a descriptive Name to identify and the Code number of the selected DHCP option (15, for setting the Domain Name). See https://www.iana.org/assignments/bootp-dhcp-parameters/bootp-dhcp-parameters.xhtml for the list of code numbers. Enter the DNS domain name of the IP address in Value. Then click OK.
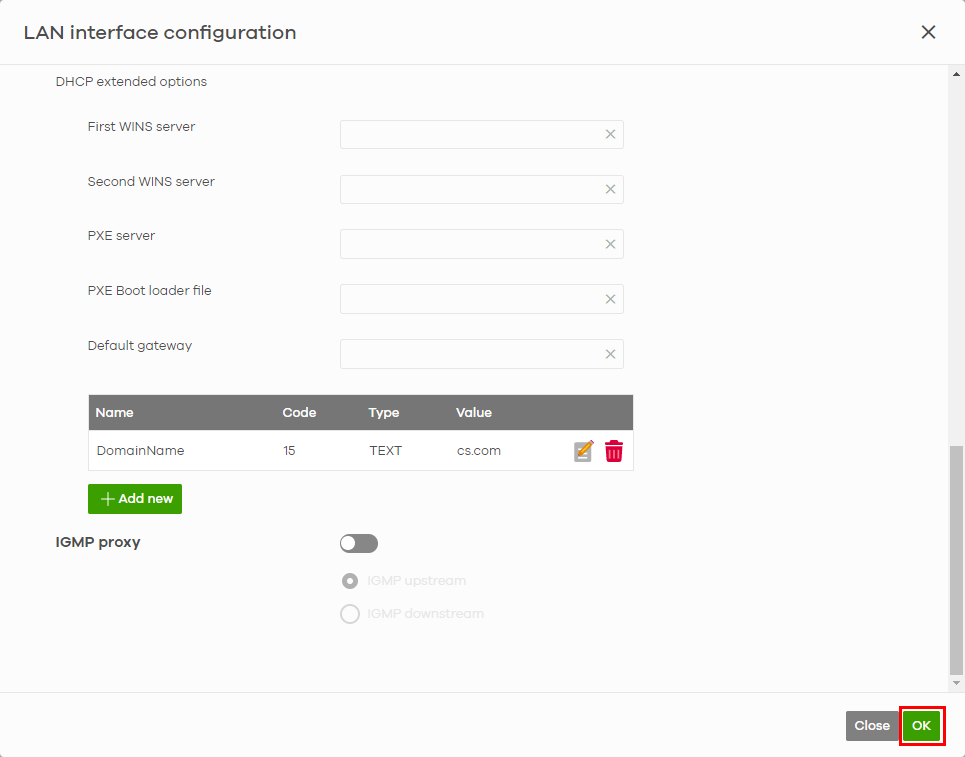
4 A new user-defined DHCP option appears in LAN interface configuration. Click OK.
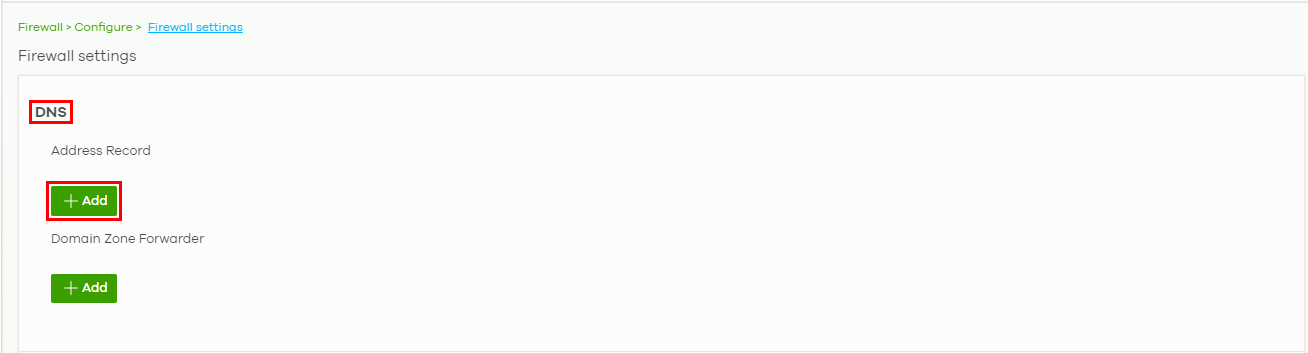
5 Go to Firewall > Configure > Firewall settings and click +Add in DNS to create an Address Record. This record specifies the mapping of a Fully-Qualified Domain Name (FQDN) to an IP address.
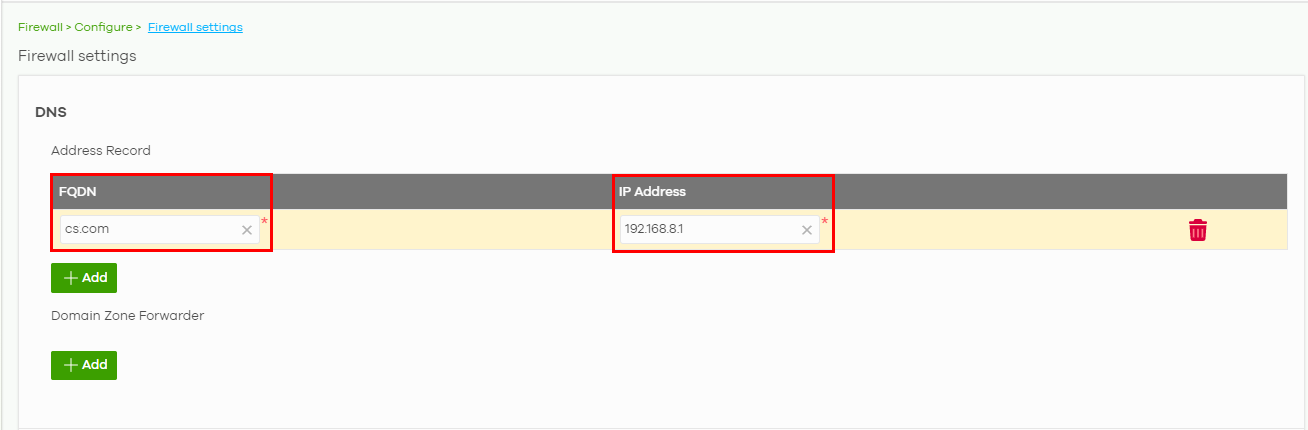
6 Enter the FQDN (cs.com) and IP Address (192.168.8.1). Then click Save to finish mapping the FQDN to the IP address.
To check if the domain name configuration is successful.
1 Connect a computer to the lan1 interface (with IP address 192.168.8.1).
2 Run the Command Prompt and enter ipconfig. Check the value for Connection-specific DNS Suffix to confirm.
