Change the Default SSID and Password
To distinguish between different APs in your network, you should change the default name of the Access Point’s WiFi network to which clients are connected (also known as SSID) and password.
To change the default SSID and password:
1 Go to the Site-wide > Configure > Security router / Access points > SSID settings tab and click Edit.

2 Enter a descriptive name of up to 32 printable characters in SSID name.
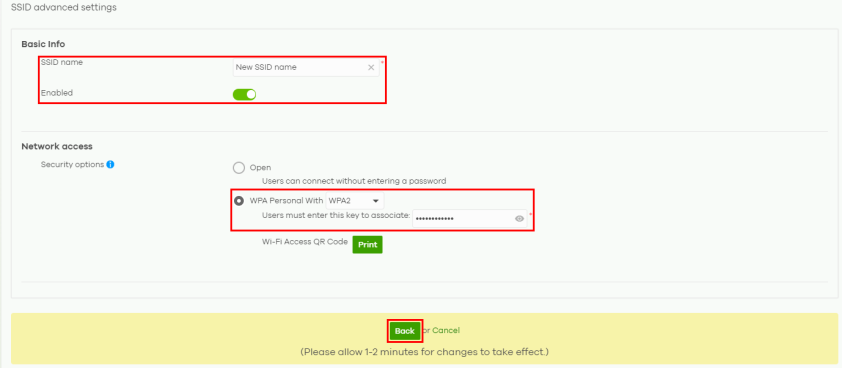
3 Click the Enabled switch to the right to apply this SSID profile.
4 Select WPA3 for the strongest security if the connected WiFi clients support it, otherwise select WPA2 to add security on this WiFi network.
5 Enter a pre-shared key of between 8 and 63 case-sensitive ASCII characters (including spaces and symbols) or 64 hexadecimal characters in Users must enter this key to associate.
6 Click Back to proceed.