Create a Custom Captive Portal Page
1 Go to Site-wide > Configure > Access points > Captive portal customization. Click the switch to the right to use a custom login page from an external web portal instead of the one built into the NCC. See Captive Portal Customization for more information on configuring this screen.
2 Specify the login page’s URL; for example, http://IIS server IP Address/login.asp. The Internet Information Server (IIS) is the web server on which the web portal files are installed.
3 Click Download to download a ZIP file containing example captive port HTML files. Unzip and edit these HTML files to upload to a webserver that is accessible from NCC.

4 Then click Save.
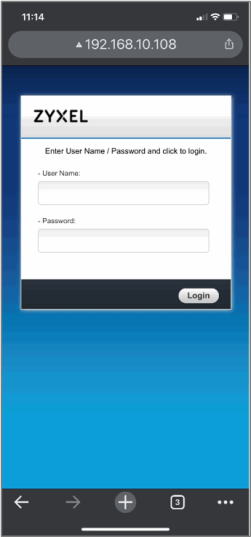
5 To check your captive portal settings, enter the URL http://<server IP address>/<page name> in your browser on your smartphone or PC to confirm the login page.