Manage a Configuration Template
This section shows you how to use a configuration template to manage sites for your organization. Create a site and then bind a site to a template. You may enable the local override function if you want to configure some specific settings directly in a site after a site is bound to a template.
Create and Bind a Template Site/Setting
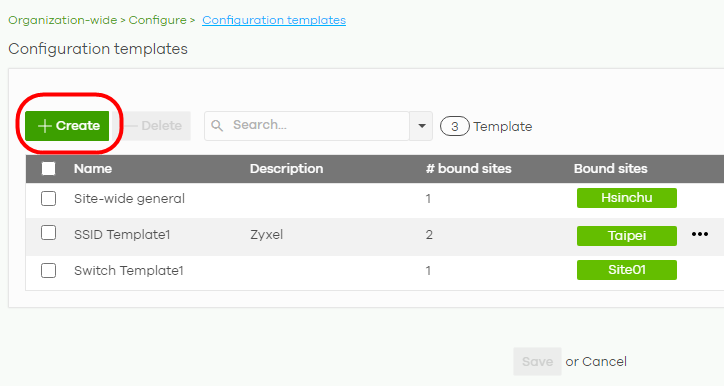
1 Go to the Organization-wide > Configure > Configuration templates screen. Click +Create.
2 The following screen appears. Enter a Template name and Template description for the template site or setting you want to create.
To create a new configuration template, select Create new configuration template.
To import an existing template from a site or template, select Import settings from.
To create a new configuration template, select Create new configuration template.
To import an existing template from a site or template, select Import settings from.

3 Select a site from the Target sites drop-down list box to bind the template to a site.
Click Create and then click Save to save the changes.
Click Create and then click Save to save the changes.

If you skip this step, you can bind a template to a site later. Go to the Organization-wide > Configure > Configuration templates screen. Select the template you want to use and then click the row with the template that you want to bind to a site.

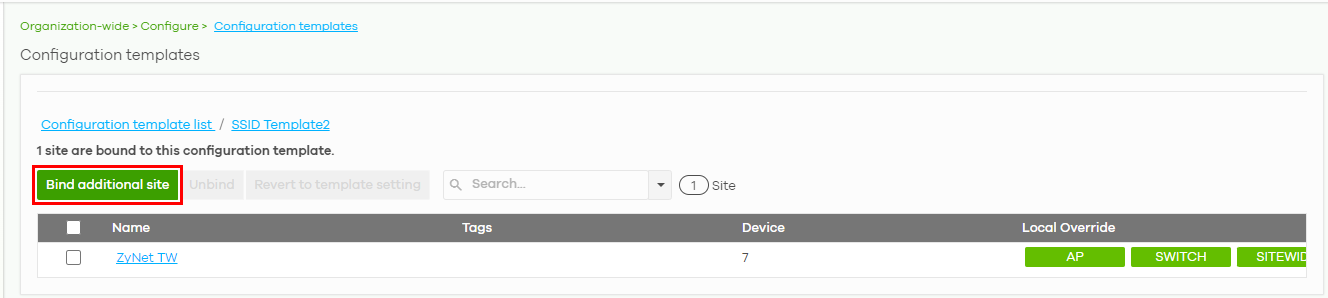
4 The following screen appears. Click Bind additional site to select the site you want to bind the template to.
5 The following screen appears. Click the Target sites drop-down list box.

6 Select a site from the Target sites drop-down box list and then click Bind.

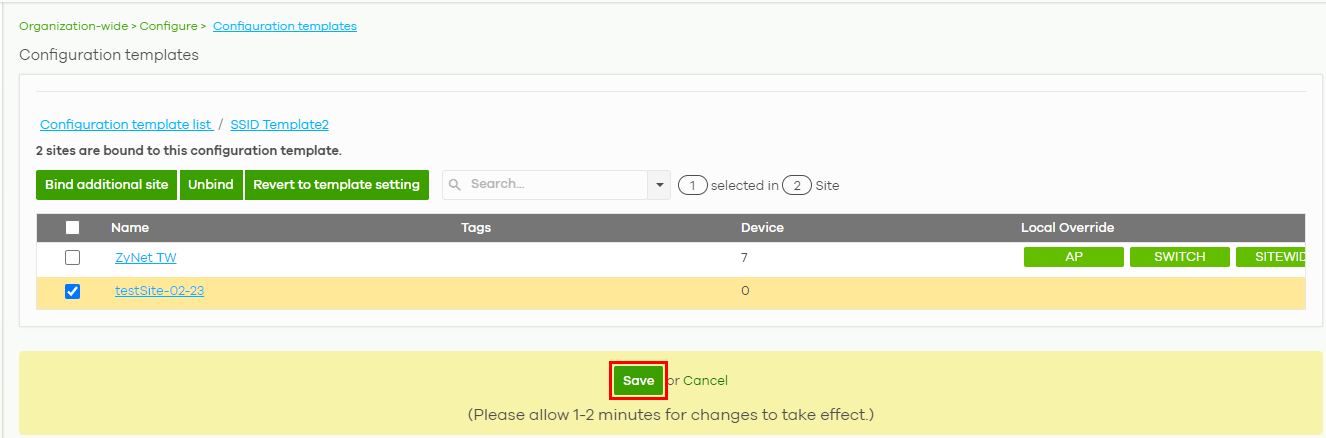
7 Click Save to save the changes.
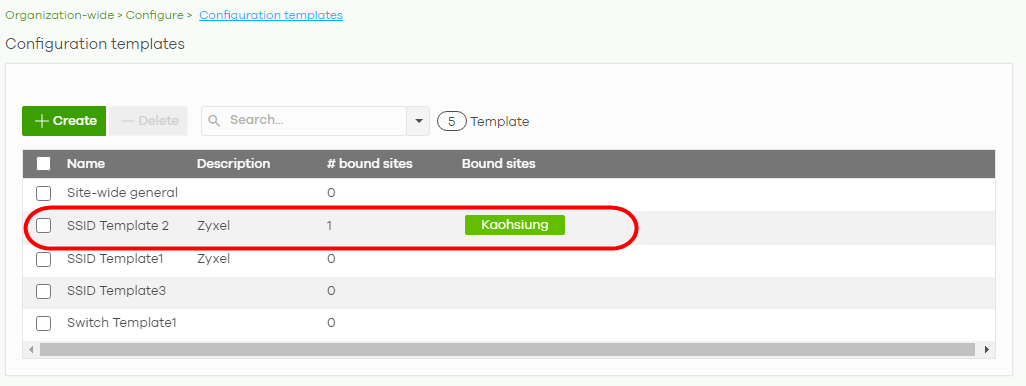
8 A configuration template is created as shown in the Organization-wide > Configure > Configuration templates screen.
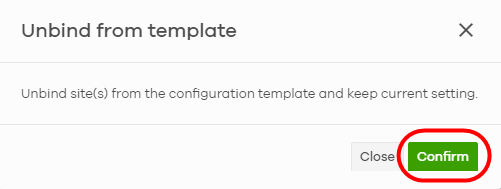
9 To release a site from using a configuration template, select a site and then click Unbind to unbind the site. The site which is unbound from the template still retains the settings applied from the template. The following screen appears. Click Confirm to confirm the changes.
10 Click Save to save the changes.

Duplicate and Import a Template Setting to a Site
This section shows you how to duplicate and then import the following template settings to a site:
• The site-wide general setting includes the device configuration, SNMP and captive portal re-authentication.
• An Access Point’s SSID setting.
• A Switch’s port setting.
The site-wide general setting
1 Select a bound site from the Site drop-down list box.

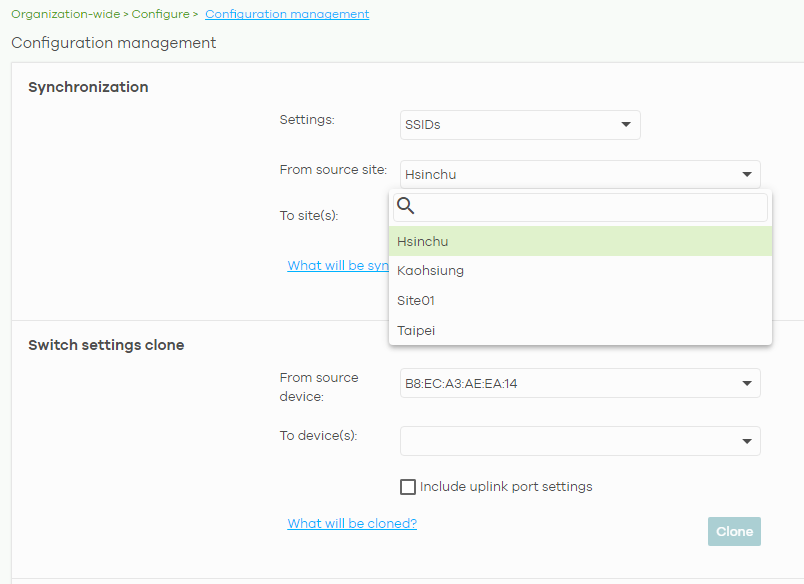
2 Go to the Organization-wide > Configure > Configuration Management screen. Under Synchronization, select the Site-wide general settings in Settings to copy a site’s general setting to another site.
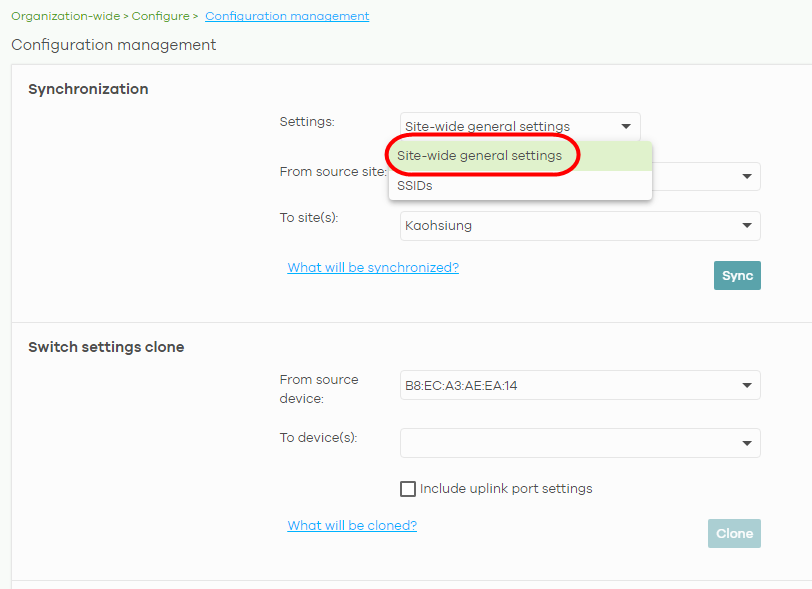
3 From the From source site drop-down list box, select the site you want to copy the Site-wide general settings from.
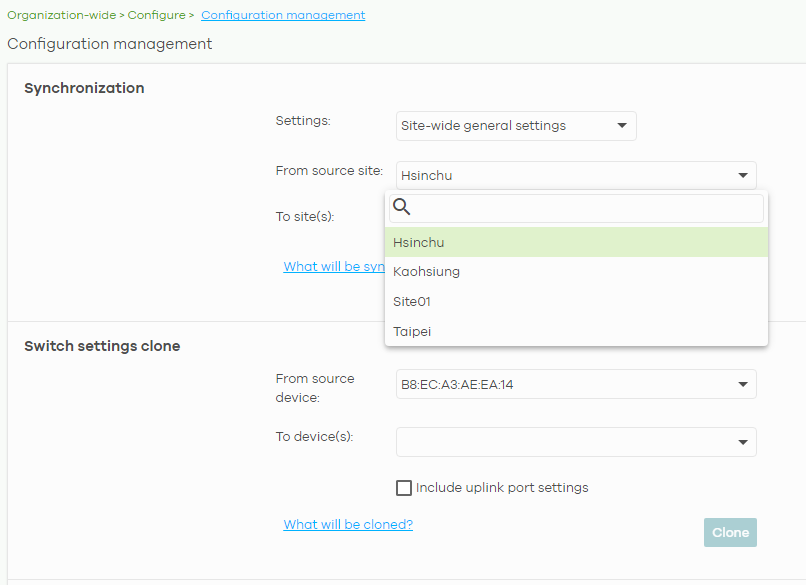
4 From the To site(s) drop-down list box, select the site you want to import the Site-wide general settings to. Click Sync to save the changes.

An Access Point’s SSID Setting
1 Go to Organization-wide > Configure > Configuration Management screen. Under Synchronization, select SSIDs to copy a site’s SSIDs settings to another site. The duplicated SSIDs include the authentication and captive portal settings.
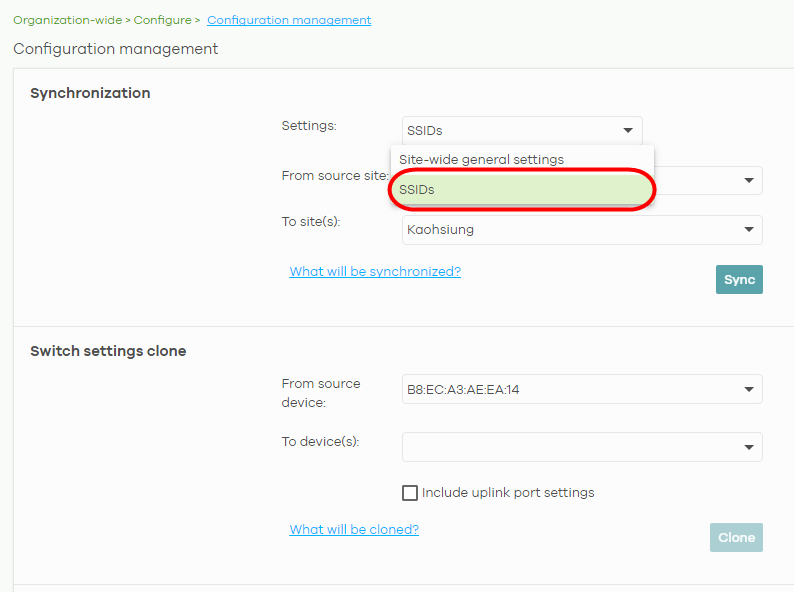
2 From the From source site drop-down list box, select the site you want to copy the SSIDs from.
3 From the To site(s) drop-down list box, select the site you want to import the SSIDs to. Click Sync to save the changes.

A Switch’s Port Setting
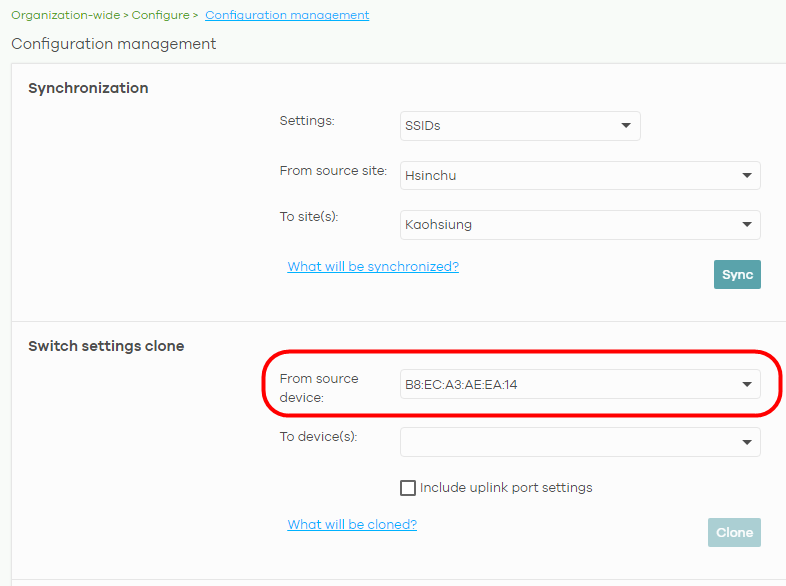
1 Go to the Organization-wide > Configure > Configuration Management screen. Under Switch settings clone, select the Nebula Device’s MAC address from the From source device drop-down list box. The cloned switch setting includes the port setting, IGMP advanced settings and STP bridge priority.
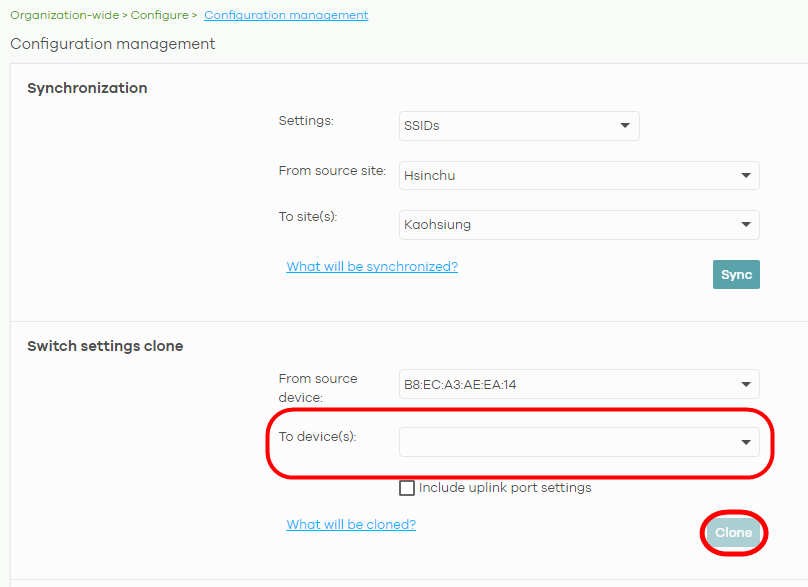
2 From the To device(s) drop-down list box, select the Nebula Device’s MAC address you want to import the Switch setting to. Click Clone to save the changes.
Enable the Override Site-wide Configuration (Local Override) Feature
A configuration template is a list of common settings that you can bind (apply) to a site. If you do not want to apply any new settings from the template to a site, just unbind that site. If you want to configure some specific settings directly in a site after the site is bound to a template, turn on the local override function. This feature is available to an organization administrator with full privileges only.
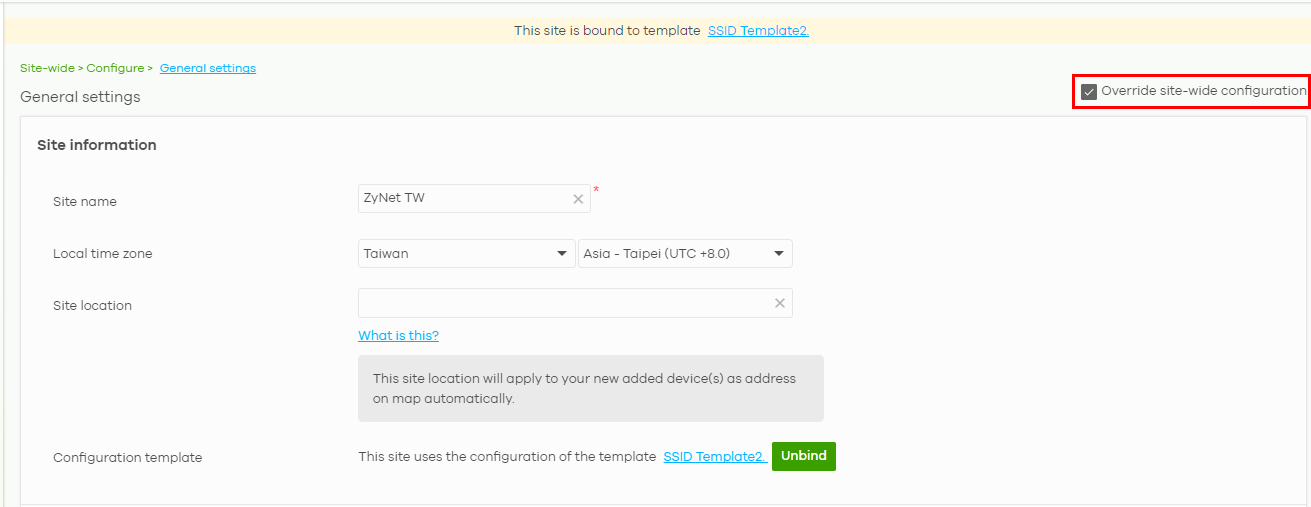
This section shows you how to enable the Override site-wide configuration feature to update site information. Select a bound site from the Site drop-down list box to edit the details of the selected site.
1 Go to a page under Site-wide > Configure and then select the Override site-wide configuration box. The Configuration page of a bound site contains an Override site-wide configuration box.

2 The following screen appears. Click Confirm to continue.

3 In the Site-wide > Configure > General settings screen, edit the Site information, Device configuration, Captive portal reauthentication, SNMP and Voucher settings on the following page. Click Save to save the changes.
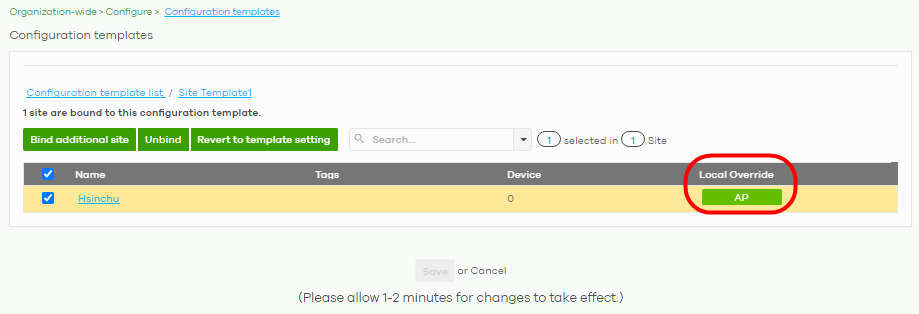
4 To verify the local override setting of a site, go to Organization-wide > Configure > Configuration templates. The Local Override field may show that AP/SWITCH/GATEWAY/SITE-WIDE settings in the template do not apply to the site. A tag for AP, as shown in the following figure, indicates that Access Point settings have a local override and any further changes in the template’s AP settings will not be synchronized to the site.
5 If you decide to go back to the original template settings, clear the Override site-wide configuration box on any page under Site-wide > Configuration. The following screen appears. Click Confirm to continue.

Overwrite the Access Point / Switch Setting
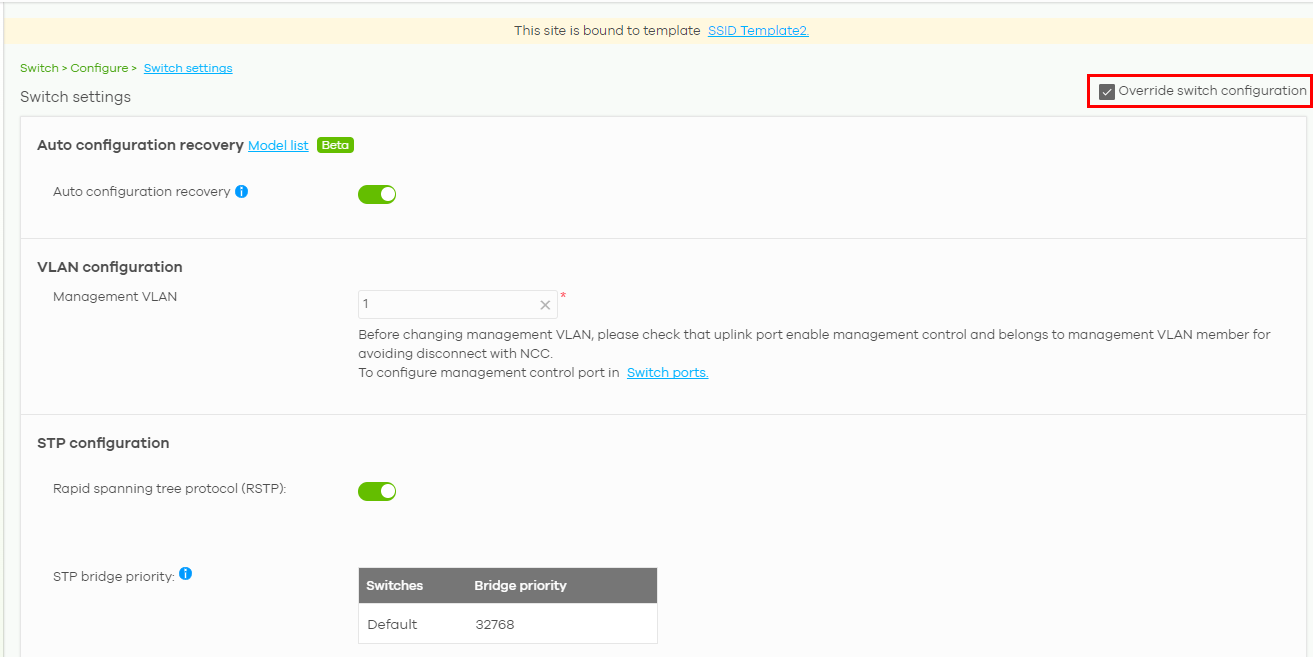
1 Go to any page under Access point / Switch > Configure and then select the Override access point configuration box. Every Configuration page of a bound site contains an Override site-wide configuration box.
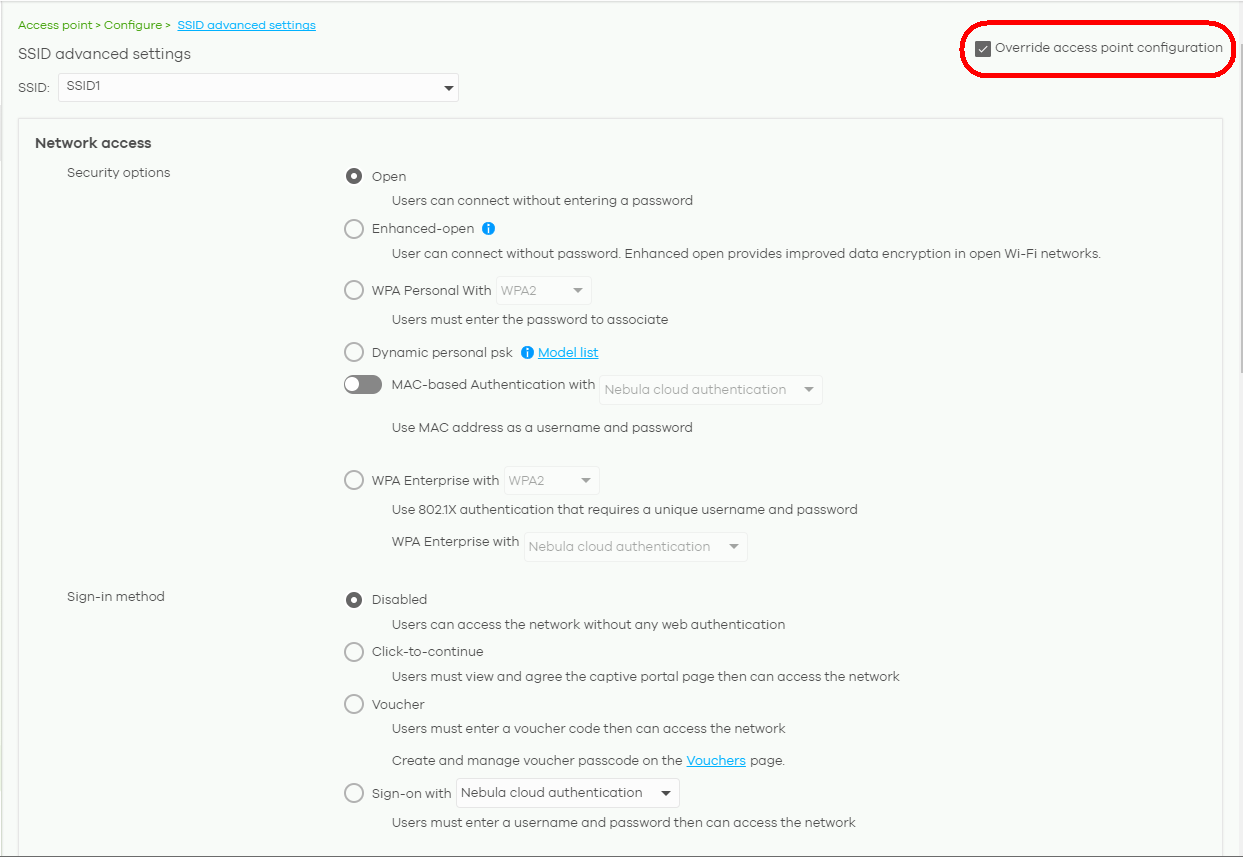
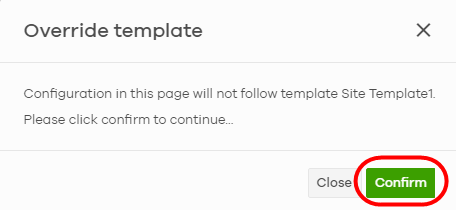
2 This allows a specific type of Nebula Device setting override. The following screen appears. Click Confirm to continue.
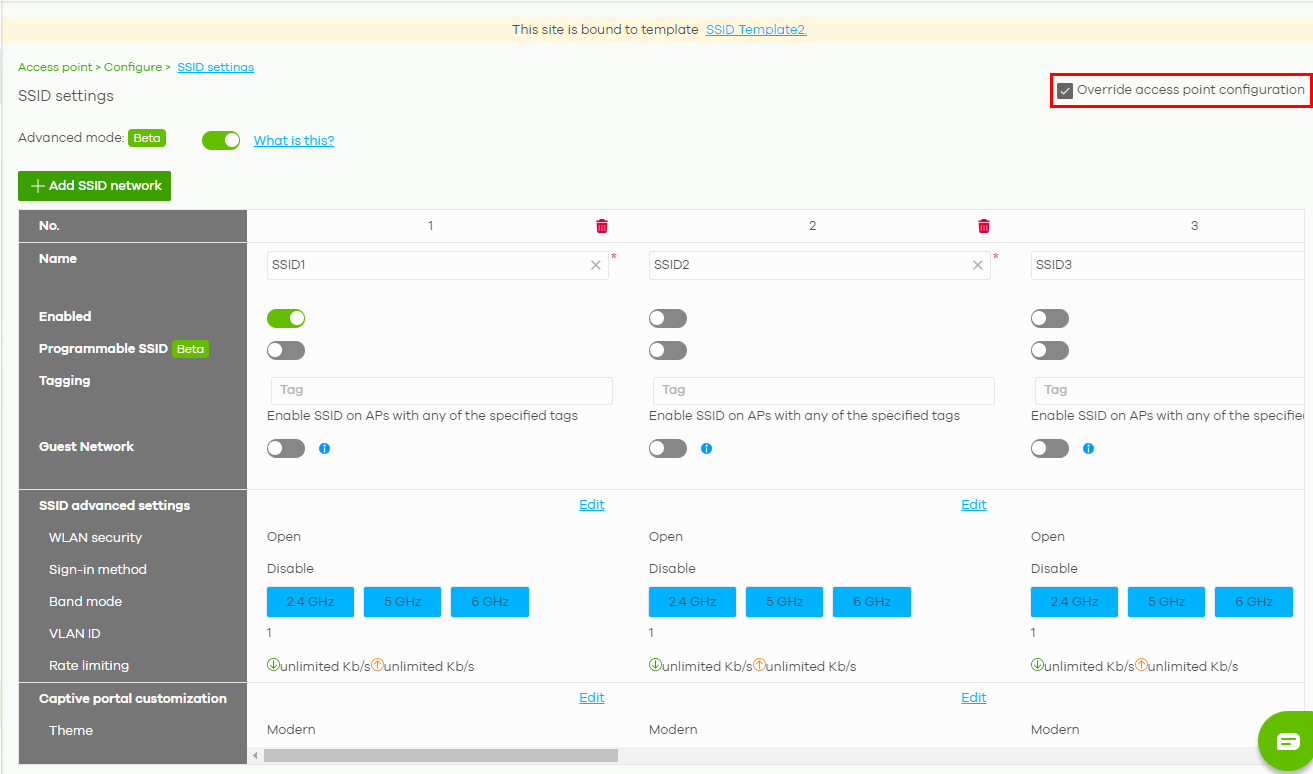
3 In Access point > Configure > SSID settings, edit your SSIDs, authentication or captive portal settings on the following page. Click Save to save the changes.
In the Switch > Configuration > Switch settings screen, edit VLAN configuration, STP configuration, Quality of service, or Port mirroring settings on the following page. Click Save to save the changes.
4 To go back to the original template settings, clear the Override switch configuration box on any page under Access point / Switch > Configuration. The following screen appears. Click Confirm to continue.